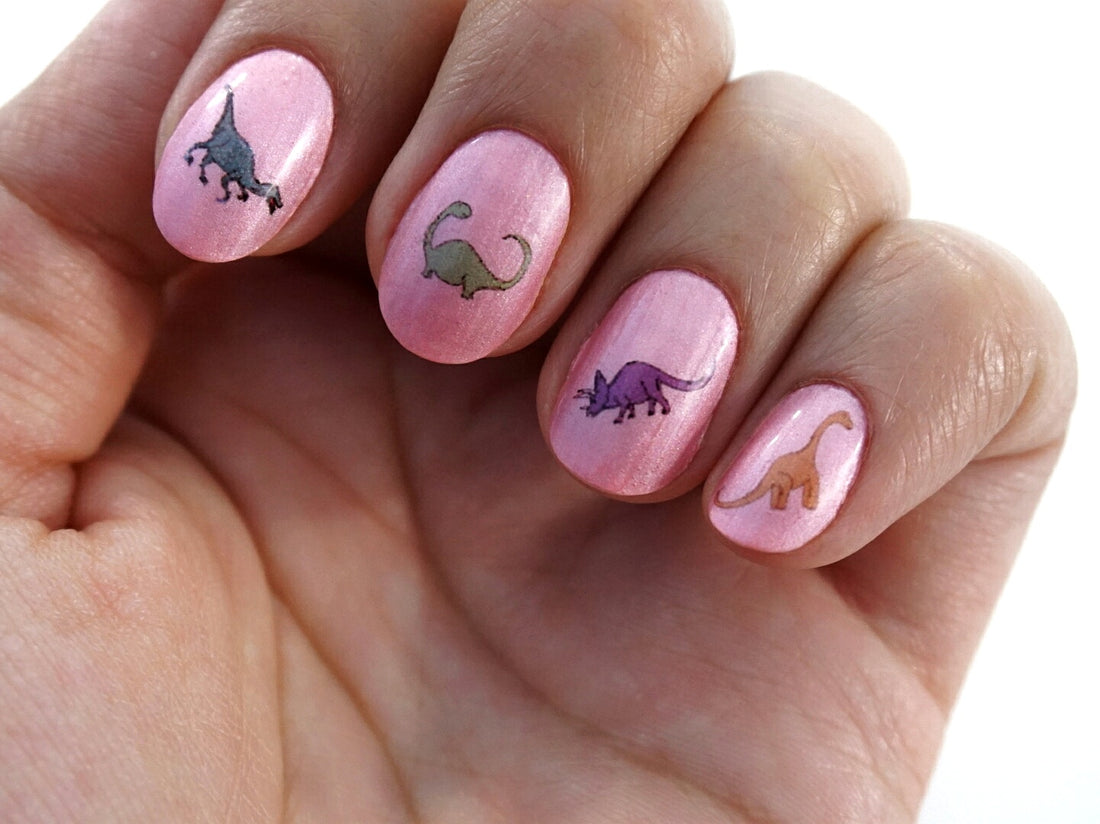
Recently, I have released one Brand New Waterslide Nail Decal sheet (feelin' fruity), I'm also trying to finish two I have had drawn up for over a year.
As a little behind the scenes, I thought I would talk about the process I go through when designing these.
Nail Decals where my first ever product back when I started designing in 2014. I remember the very first set I sold to someone in America, and I wrapped it up like a little present (must have cost a lot to post). My design process hasn't changed too much over the last few years, just more digital, when I started I used to draw/colour everything on to paper and then scan it in.

This is the process I do now:
- Sometimes, it all starts with an idea I have written down already or I research current trends on pinterest and around the internet.
- I draw out some cute images in procreate on my iPad. Sometimes, I use a pencil brush to sketch and refine the images, but all the images always get finished with the thick black monoline brush. I love the smooth finish of it, and the thick lines, that make the details stand out.
- Then I colour them all in
- I save this design as an image and then import it into my nail decal sheet template in affinity photo (the software is very similar to photoshop, except its alot cheaper and designed in the UK)
- I cut all the tiny images out in the software, shrink them down till they are around 1cm and arrange them on one sheet.
- I copy the images so that I can fill the whole sheet out and duplicate this to fill the A4 sheet
- Then its printing time! I use an epson Inkjet printer, print in high quality with specific setting for the paper.
- I let the sheet dry for at least an hour and then spray with clear lacquer to protect the colours from running when you dunk in water.
I have a lot of ideas for decals, i just need to get round to drawing them. If you are looking for something more custom, you can find out more information here.
